Nothing says “welcome to our home” like flowers by the front door. Think of all the places you’ve felt warmly greeted at the door and most likely there were some flowers or some sort of wreath involved in the decorating.
I like to have the flowers by our door change with the seasons and if I know of any particular events coming up I like to fit the theme whenever I can. This spring I’m changing out my metal “welcome” pouch of spring flowers for a wreath.
I wanted something that would go along with the Royal Wedding parties I’m planning and found a great wreath at Home Goods – I just didn’t like the price of $40. But the wreath hanger is nice, don’t you think?
I know how to make a wreath and have made many over the years, so I also know that it would be time consuming and I’d most likely spend far more than $40 for the silk flowers it would take to put together a wreath like this one – even if I got them on sale.
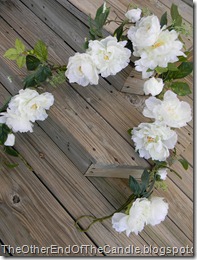 I looked around just a little bit more and found this floral garland (also at Home Goods) for just $17. Now we’re talking… I stopped at Hobby Lobby and picked up a grapevine wreath for $5. If I’d been patient enough I could wait for them to go on sale too.
With just a few floral supplies this can turn into a super easy project that literally only took 20 minutes to complete – including taking the photos. You’ll need just two pieces of floral wire, wire cutters, some ribbon and sharp scissors. The white chenille stem is just for illustration in this case. I had all of these items on hand in my floral supplies. The ribbon would normally be a very expensive addition to this project, but this is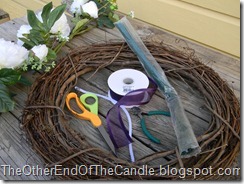 actually left over from a wedding I did and even at that, I purchased it at a floral supply store rather than a craft or fabric store and I paid less than $3 for 25 yards. The only drawback with this ribbon is that it’s not “wired”. Its much easier to make a nice wreath bow, or any other multi-loop bow, with wired ribbon.
Start by just laying the garland on top of the wreath and securing it with some wire in several areas. I tied mine on in 5 places.
Then make a big loop bow – use an odd number of loops. I want a nice full bow so I’ll use seven loops on each side. Begin by leaving a sufficiently long ribbon tail and then start your first loop. My tail is about a yard long and these loops start at about 6 inches long.
Loop the ribbon back and forth with one hand and hold the loops securely in the middle with the other hand.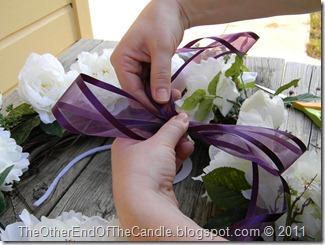
Twist and turn it over to make the loops lay nicely.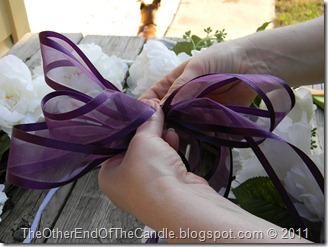
After you have about three loops on each side continue making loops to fill out your bow making them about an inch shorter every two loops you add to a side. This will give the bow a full round look when it’s done. Loops 1,2 & 3 will be about 6 inches. Loops 4 & 5 will be about 5 inches and Loops 6 & 7 will be about 4 inches.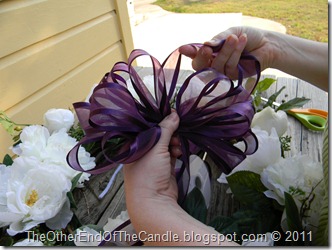
Finish with an odd number of loops on each side. (I used 7 loops for a nice round bow. You could use as few as 3 on a side or more. Much more than a 9 loop bow is hard to hold in your hand.)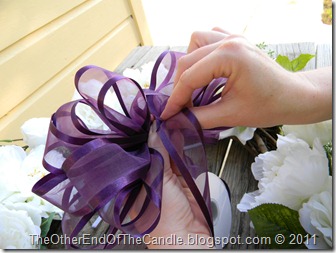
Make one (or two) very small loops for the center. I made two loops since I was making a large bow and using sheer ribbon.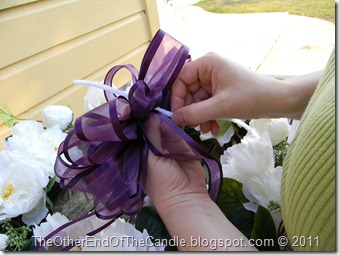
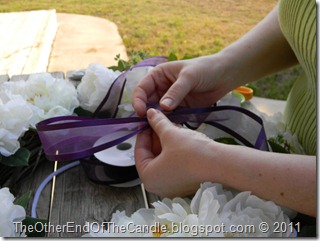
Run a long piece of wire or chenille stem (we used to call them pipe cleaners…) through the small center loop(s).
Flip the hand holding the bow over and bend the wire or chenille stem to the back.
I show a white chenille stem above and wire below. Chenille stem is my preference for tying the center of a large ribbon bow, but I didn’t have a matching color on hand. In this case it would have shown since it’s so light colored and the ribbon is sheer. The floral wire will disappear in the finished bow.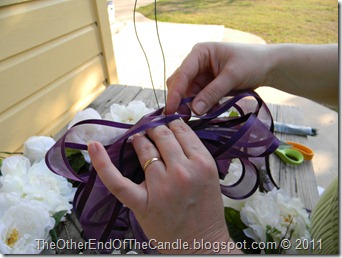
If you want more than two tails on your bow (my finished bow has four) now is the time to add an extra length of ribbon to the back of the bow. I cut another yard of ribbon for my second set of tails and put the center of it on top of my bow loops.
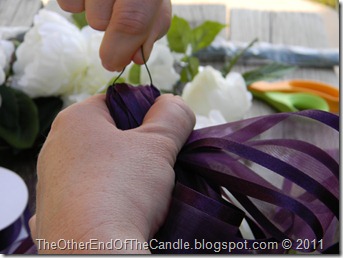
Fold all the loops together in one hand and twist your wire or chenille stem tight several times to secure it.
Flip your bow back over and start fluffing out the loops and shaping your bow. You can twist and pull your loops into shape (this is where having a wired ribbon is nice) and even adjust the size of your loops if any are uneven.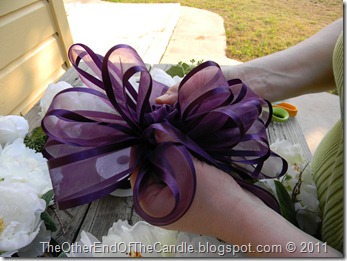
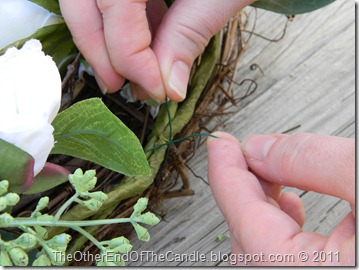
Find just the right spot on your wreath and tie your bow on, using the wire you secured your bow with. Run the wire through your wreath from the front to the back and tie it on.
Decide how it will display the best – bow at the top, side or bottom or somewhere in between…
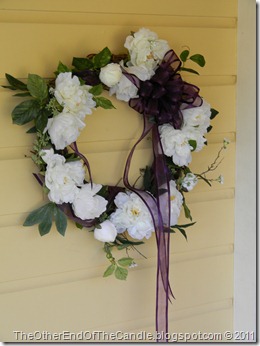
I wrapped the extra two tails around the wreath in either direction and left just two tails hanging.
From here it looks like that bow could use a little more tugging and shaping…
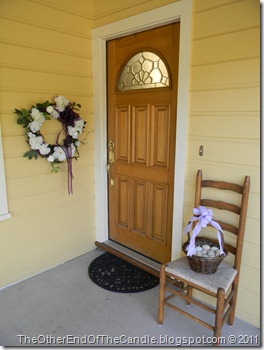
Welcome!
I’m linking up to:



Very pretty and thirfty :)
ReplyDeleteYou know,it's been a while since I've been creative like this.
Thanks for the inspiration!
Very pretty. You are so good at bows. Lisa~
ReplyDeleteI love it....I really do like your welcome hanging though too.
ReplyDeleteHugs,
:) Heather
This is so pretty!
ReplyDelete